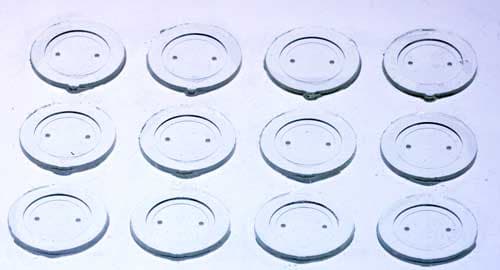
Lab-scale reaction injection molding (RIM) is the most suitable method when you need several copies of a design — for a project or for pre-commercial production. OSTEMER resins fill small mold cavities easily thanks to their low viscosity, their low shrinkage stress gives very good feature replication, and the rapid UV cure that sets the shape enables short cycle times.
The mold setup
Injection molds are closed molds with one injection port and one or more ventilation ports. A straightforward design that is easy to make has a bottom part in precision-milled aluminum and a top part of flat glass with a release liner.
- Keep the vertical walls of the aluminum mold as smooth as possible, with no overhangs.
- Slightly slanted walls make demolding easier.
Step by step
- 1Mix the two OSTEMER components, debubble, and carefully draw the resin into a syringe.
- 2Close and clamp the two halves of the mold, with the release liner under the glass plate.
- 3Slowly inject the resin. Apply underpressure to the ventilation port to help fill small features and minimize bubbles.
- 4Slide the mold under the UV lamp and expose.
- 5Remove the top plate and carefully peel off the release liner together with the OSTEMER part.
- 6Trim the resin ports and separate the part into individual chips.
- 7Align the chips to their substrate and heat-cure in an oven to stiffen and bond them. Finally, remove the release liner.
Note: Always remove the part from the aluminum mold after UV exposure, before the heat cure. The second (epoxy) cure reacts with aluminum and can damage the mold.